Landscape Photography Photoshop Tutorial: Dodging and Burning
Learn how to dodge and burn your images in Adobe Photoshop
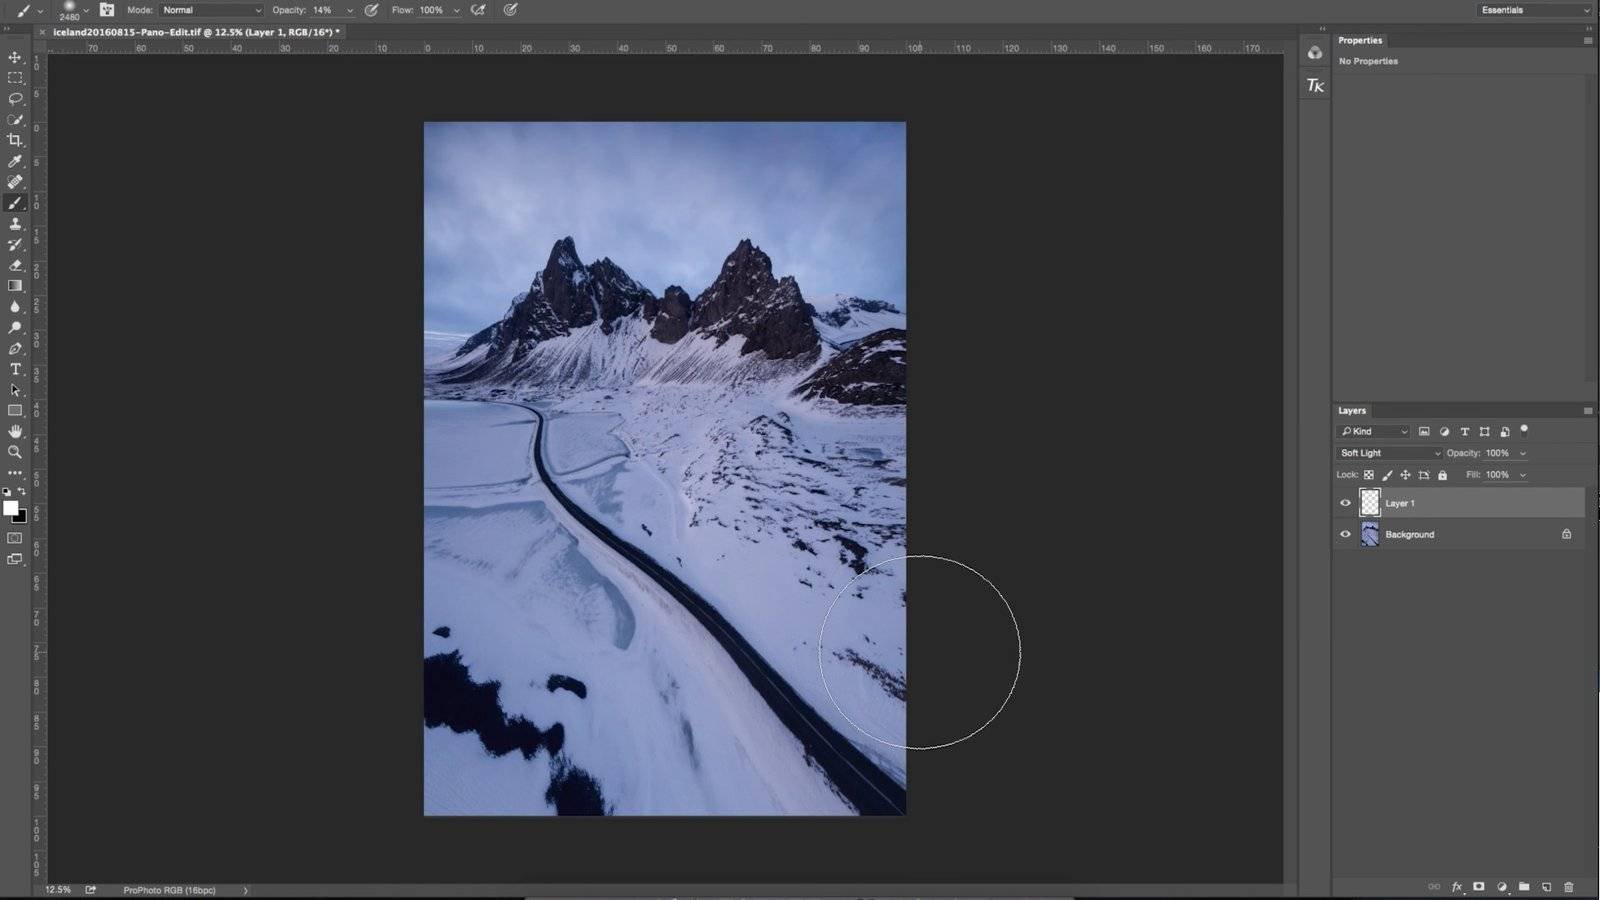
Here is a short landscape photography tutorial going over the different techniques I use to dodge and burn my images in Adobe Photoshop to accentuate certain areas of the image where I want to viewers attention to go. This is a great technique for adding a little bit of glow, creating vignettes and touching up distracting areas of your Landscape Photography.

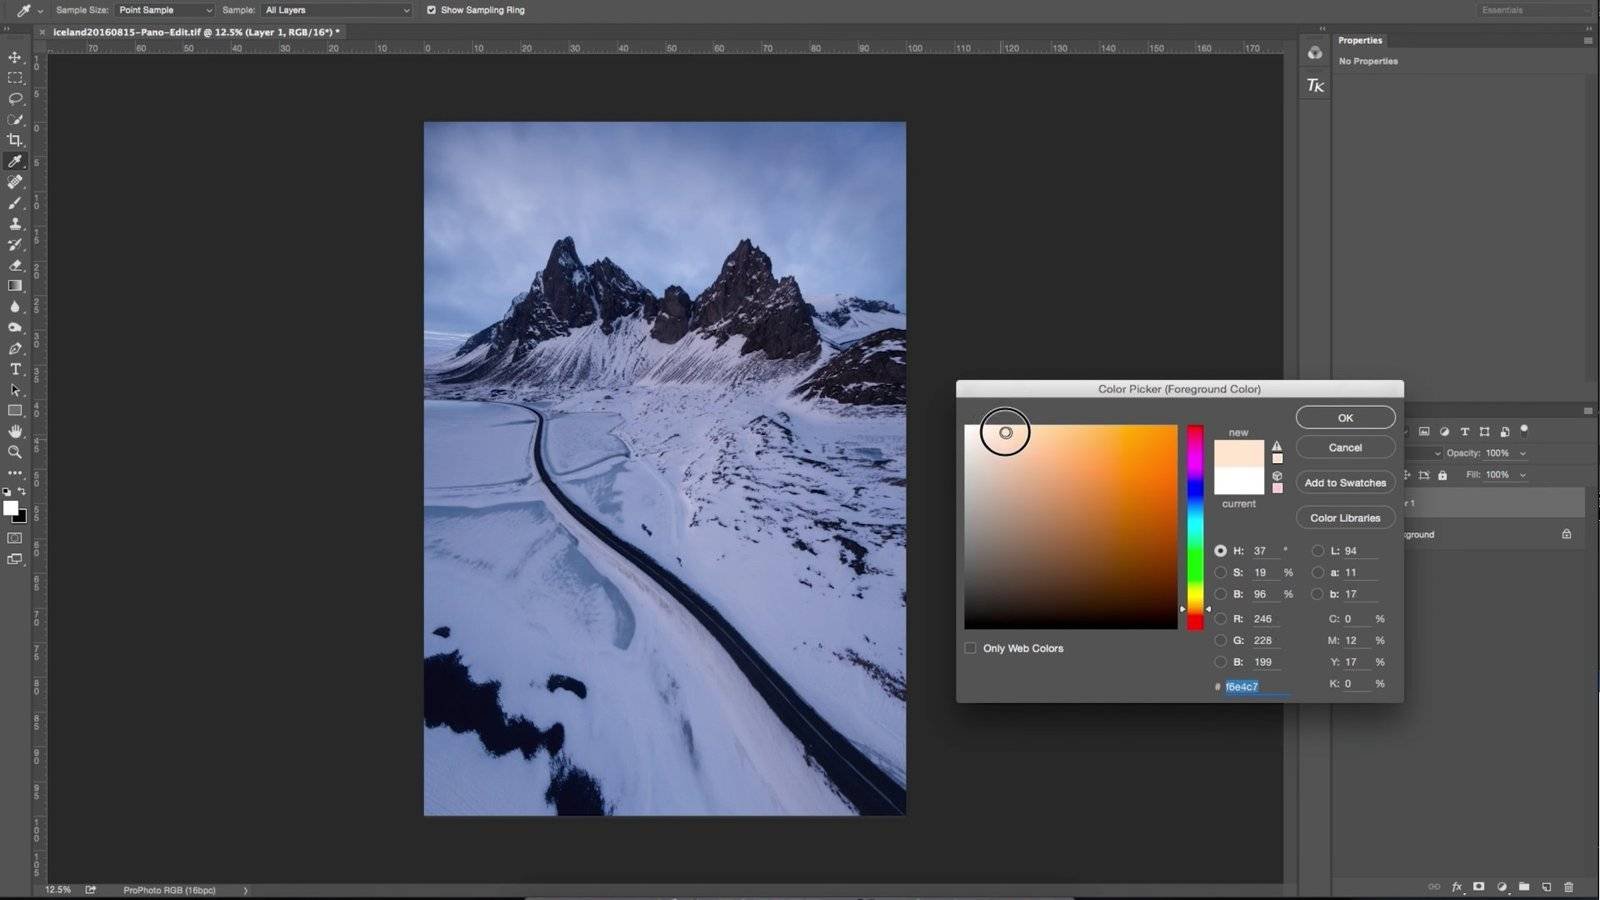
The technique is fairly straight forward, but can be used in a number of different ways. The idea is to create a new blank layer and change that layer opacity to soft light. This allows light to bleed through when you paint on the layer. To increase the brightness of an area, you can paint with the color white. To darken an area, paint on with the color black. I recommend using a very light opacity on the brush, sometimes even as light as 2% and brush multiple times to increase the effect. Always make sure you are using a brush selection with 100% feather. If you plan on using the effect in bigger areas, for example to create vignettes, use a large soft brush. If you plan on doing very selective edits, such as paint a little more brightness into mountains, make sure to use a smaller brush and even zoom in 100% into your photograph.

You can also play around with painting on different colors to add a different effect. You can use the dodge and burn effect with curve layers as well, by using layer masks. This technique is best explained in the video above.
If you enjoyed this dodging and burning photoshop tutorial, consider checking out some of my premium tutorials for more advanced techniques. http://shainblumphoto.com/premium-photography-tutorials/
Michael, very cool stuff… quick question, what benefits do you find by using a transparent Soft-Light Layer and not 50% grey on that layer for Dodge/Burn and painting in additional color?
Thanks man, no benefits from a visual side. The grey really does not change anything. I feel like the reason its used is to make the changes more visual on the layer thumbnails. But since I always check the effect by turning the layer visibility on and off. The extra step of creating 50% grey becomes pointless in my workflow, so awhile ago I just stopped doing it.
thanks, I wasn’t sure if there was a different effect using a transparent vs. 50% grey layer when dodging, burning or painting color in.
Thanks for the tutorial. I was looking for new ways to do this. I have been using a 50 gray layer but not sure if there is a way I can see where I’ve brushed (other than clicking on and off)…If there is a way will you let me know? 🙂
I think thats one of the reasons people use the grey layer, because its a bit easier to see the brush strokes on the thumbnail. Personally I find it to be an unnecessary step, I am not sure if there is an easier way to see the brush strokes on the thumbnail then using grey.
Thanks. I really enjoy learning from you & seeing your photos :).
I wonder once you use a brush on the image, the 2 circles popped up and burned the image without crossing the edge of the mountain. What is the shortcut on this ?