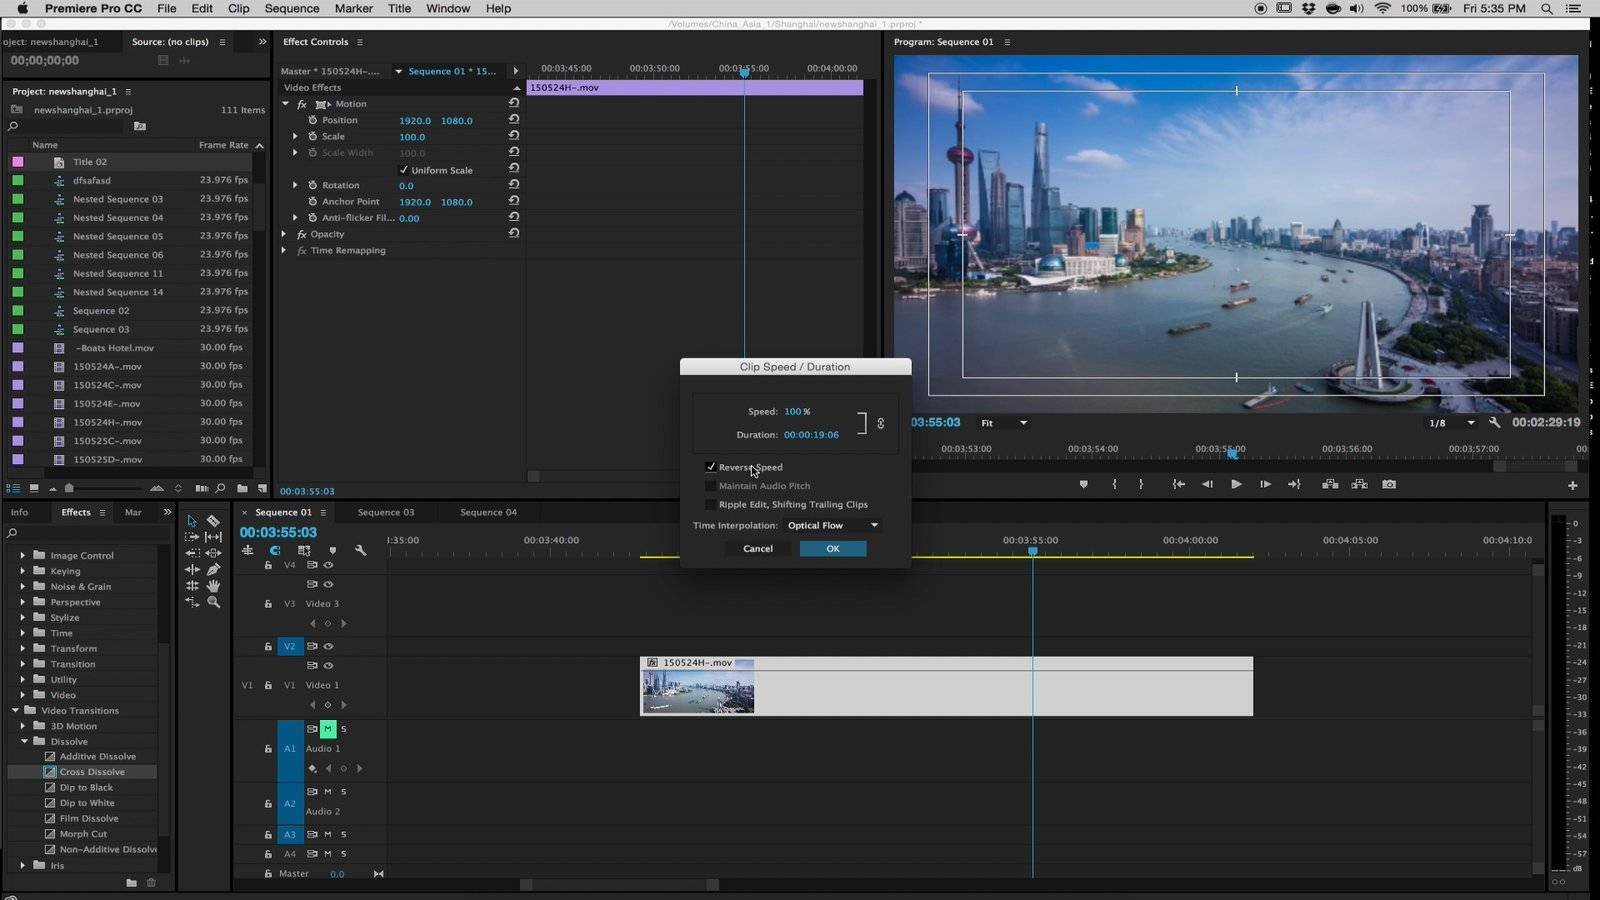
Speed Changes Adobe Premiere Tutorial: Slowing Down Footage, Speeding it up, Reversing Footage and Speed Ramping
In this tutorial I will teach you how to simply reverse footage, slow down footage and speed up footage using the program Adobe Premiere. I will also cover how to Speed Ramp footage using time remapping. These are very basic techniques that can be applied to a variety of footage.
If you plan to slow down footage, its best to use footage shot at a higher frame rate. For example if you shoot footage at 60fps and you have a 30fps timeline, that means you can slow the footage down 50% without the shot looking glitchy. If you were to do the same thing with 30fps footage the program has to create double the amount of frames that do not actually exist. If you plan to slow down a timelapse sequence sometimes using “Optical Flow” will fix the problem, however this only works well a fraction of the time. Another good program to look into would be Twixtor which uses more advanced methods of creating non-existing frames.
If you have any questions about the techniques applied in this video, please feel free to leave a comment below.

Your Twixtor link goes to this page on your website: http://shainblumphoto.com/2016/07/11/oregon-aerial-photography-landscape-timelapse/ rather than to this page, for example: http://revisionfx.com/gallery/#twixtor.
Your required fields aren’t marked with an asterisk.
I came to this site via your article on the Mavic and stayed to browse – you have some useful and interesting stuff (I’m a photography novice).
Whoops, sorry about that! Thanks for checking out my site Geoffrey!
Thanks for sharing with us! Good explanations.