MICHAEL SHAINBLUM / PHOTOGRAPHY TUTORIALS
A complete landscape editing tutorial
Ireland Cliffs
Start to Finish
Dramatic light can be challenging to edit. I’ll show you how I balance the bright sunset and dark cliffs in this photograph, then refine the color and atmosphere without losing what made the scene special.
OVER 90 MINUTES / LIGHTROOM + PHOTOSHOP
Exposure blending, non-destructive editing with Smart Objects, and dodging and burning, all in one complete edit.
$65 USD
Add to CartPlus applicable taxes.
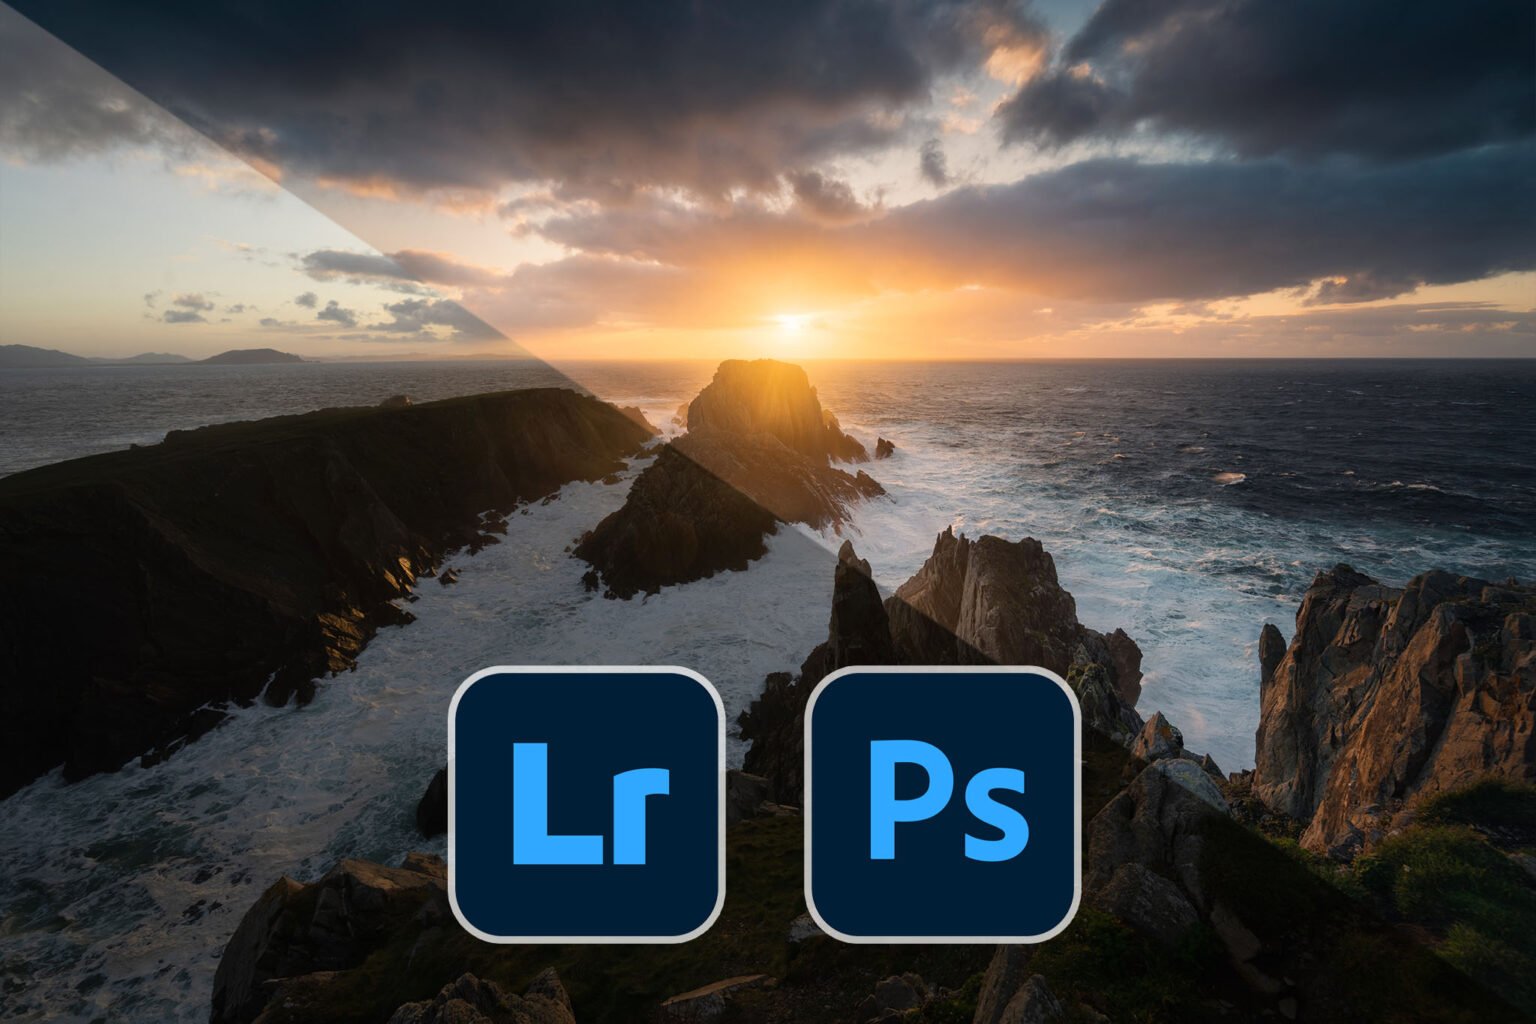
THE PHOTOGRAPH YOU’LL EDIT
From the RAW file to the finished photograph.
Keep the warmth of the sunset, bring out detail in the cliffs, and give the image depth without flattening the light. I’ll show you the adjustments and masks I used to get there.
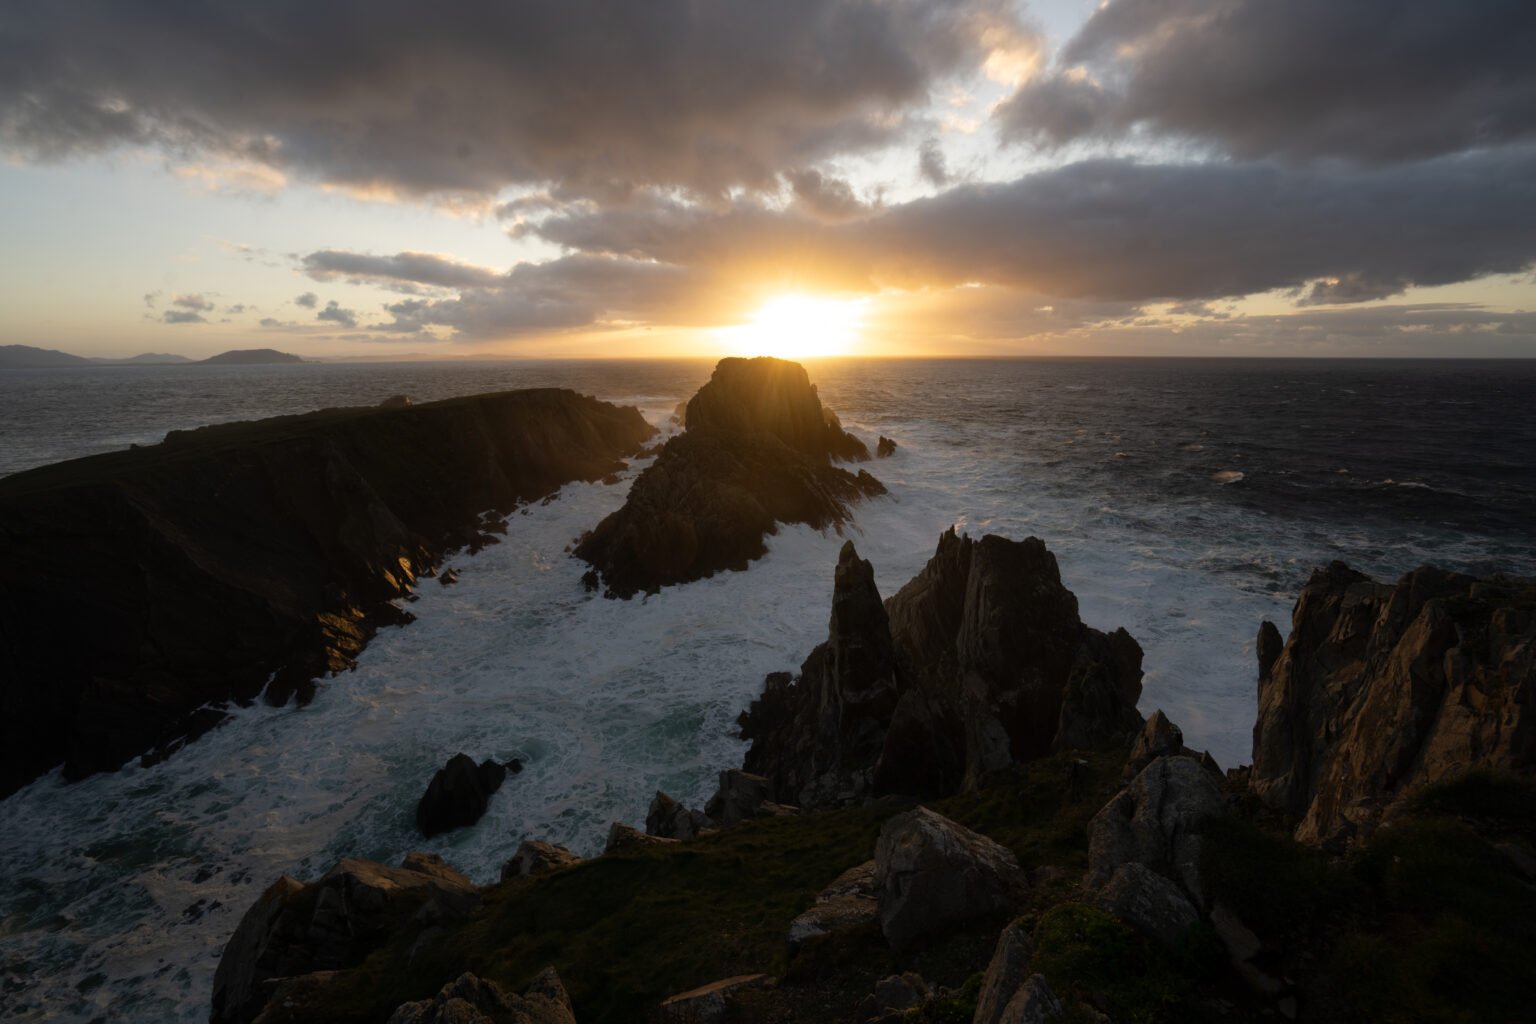
THE STARTING RAW FILE
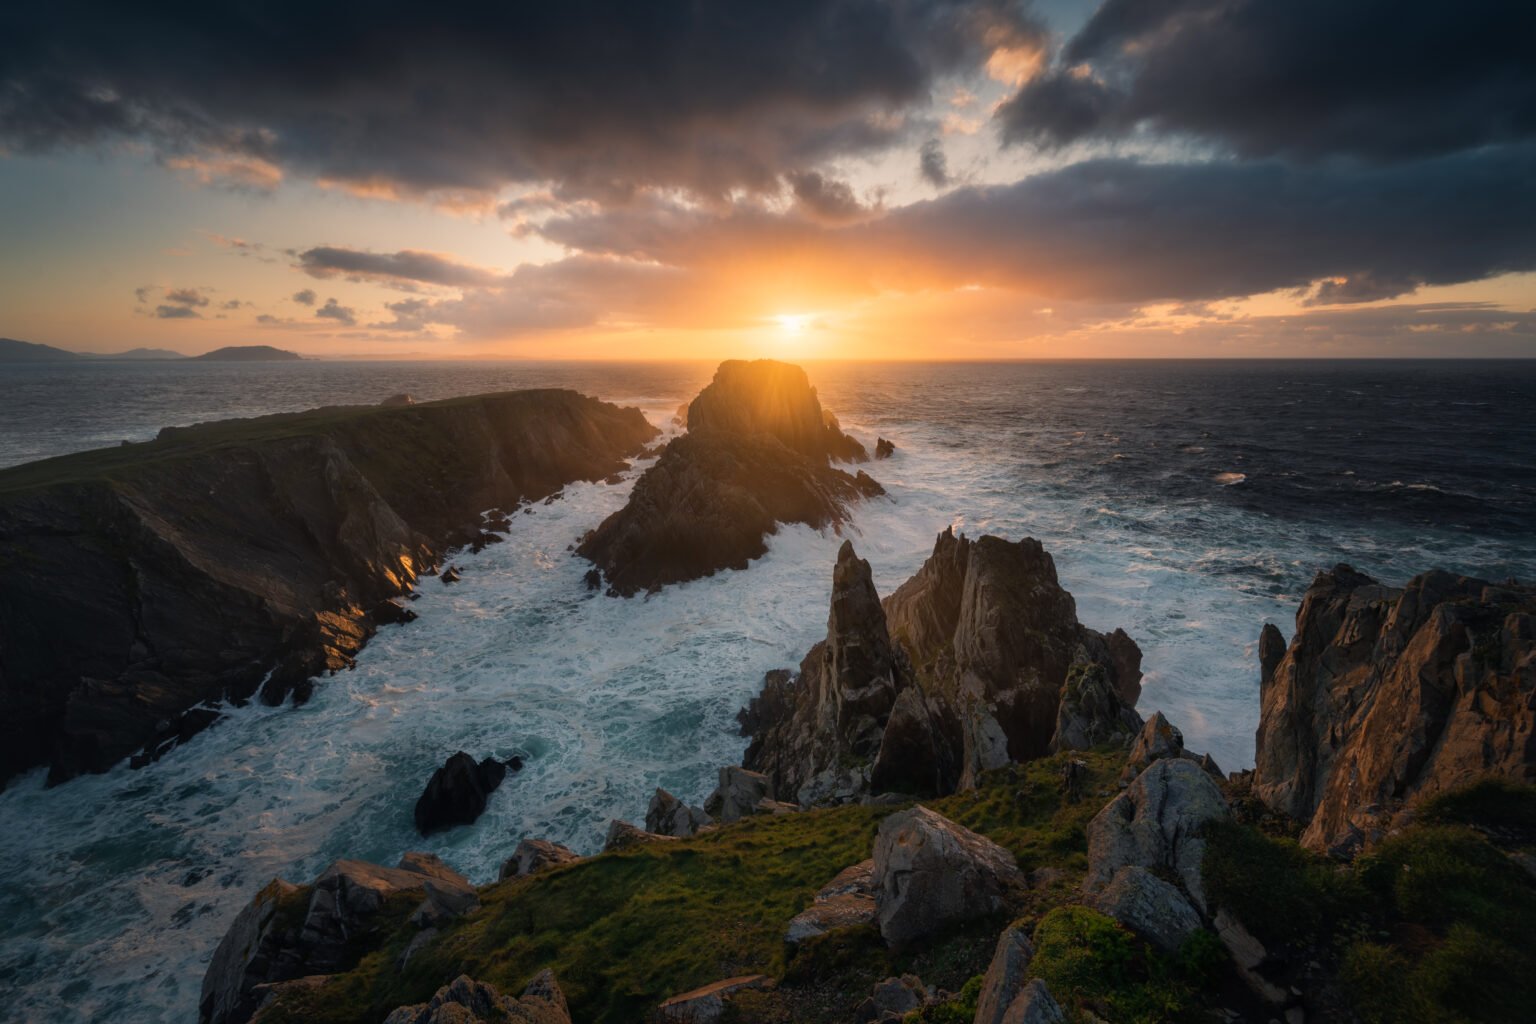
THE FINISHED EDIT
90+ minutes of video
Watch the Lightroom and Photoshop work step by step.
The shoot and the full edit
See the camera settings, RAW preparation, and finishing adjustments.
Use it in your own work
Apply the blending, masking, and color techniques to other landscapes.
01 / CAPTURE AND PREPARATION
Get the exposure and color right first.
A few early adjustments make the rest of the edit easier. I’ll show you how I prepare the file before getting into the more selective work.
The shoot: See the scene, camera settings, and how I captured the light.
The starting edit: Work on white balance, tone, color, and detail in Lightroom.
The composition: Compare crops and clean up distracting details.
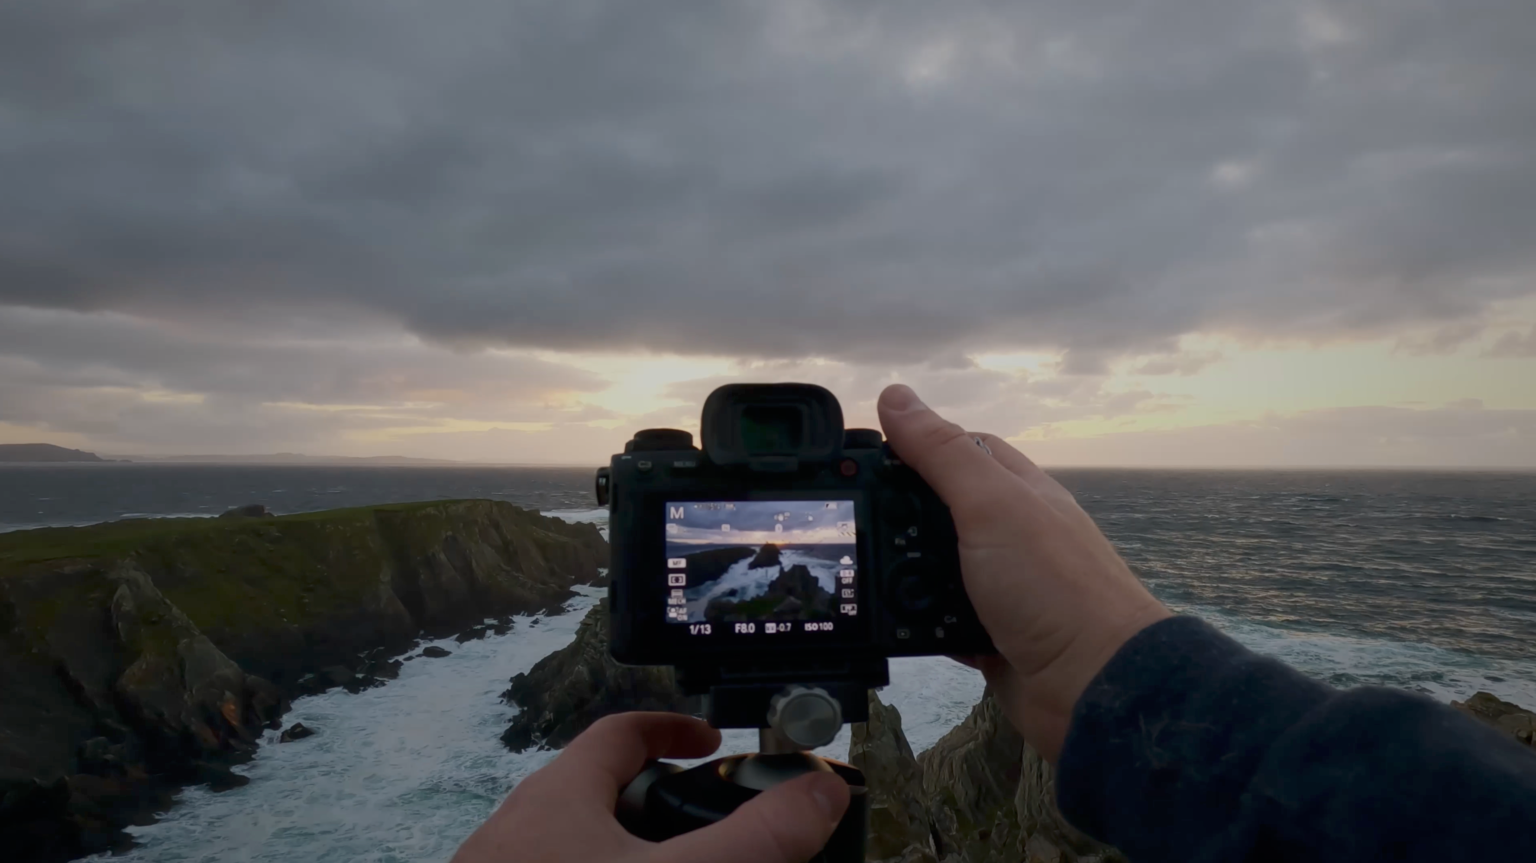
The scene and camera setup, shown in the tutorial.
02 / BLENDING AND MASKING
Keep the sunset. Bring out the cliffs.
A bright sky and dark foreground don’t need the same adjustments. I’ll show you how I combine exposures and control exactly where the changes apply.
HDR blending: Merge exposures in Lightroom to work with the full range of light.
Local adjustments: Use Lightroom masks to work on the sky, cliffs, and foreground separately.
Non-destructive workflow: Work with Smart Objects, layers, and luminosity masks using the TK panel, keeping the original image data intact so you can revisit your adjustments.
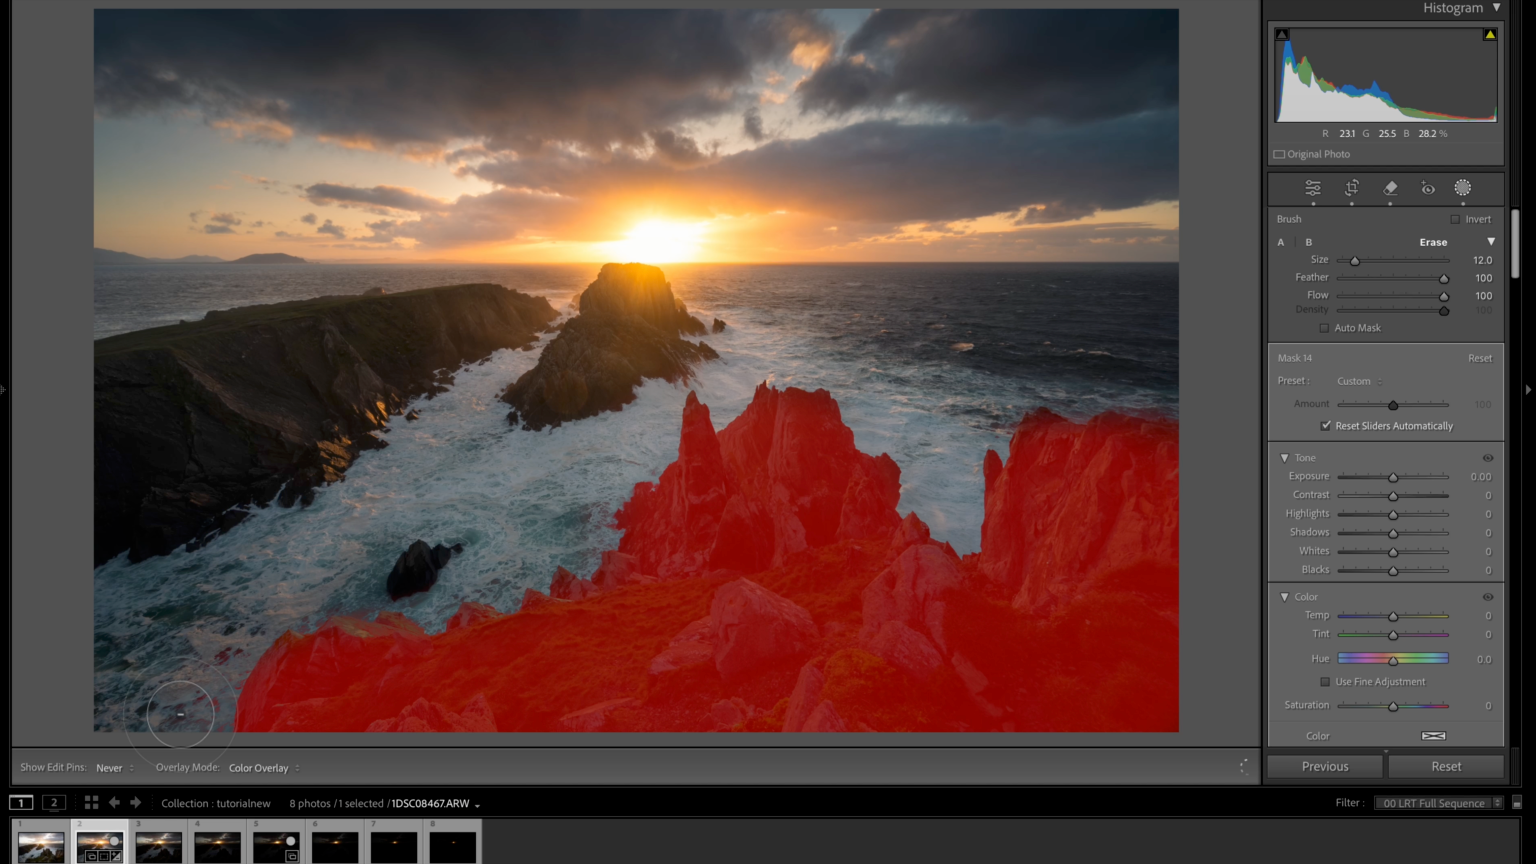
Using Lightroom masks to target the foreground.
03 / COLOR AND FINISHING
Add warmth and depth without overdoing it.
Watch how I refine the color and use dodging and burning to give the cliffs more depth. Then I’ll add a controlled Orton glow and prepare the finished image for export.
Color: Refine the warmth and balance with Color Balance, Hue/Saturation, and Curves.
Dodging, burning, and glow: Give the cliffs more depth and guide the eye toward the light with selective brightening and darkening, then control the softness of the Orton effect.
The finished file: See how I optimize and export the photograph.
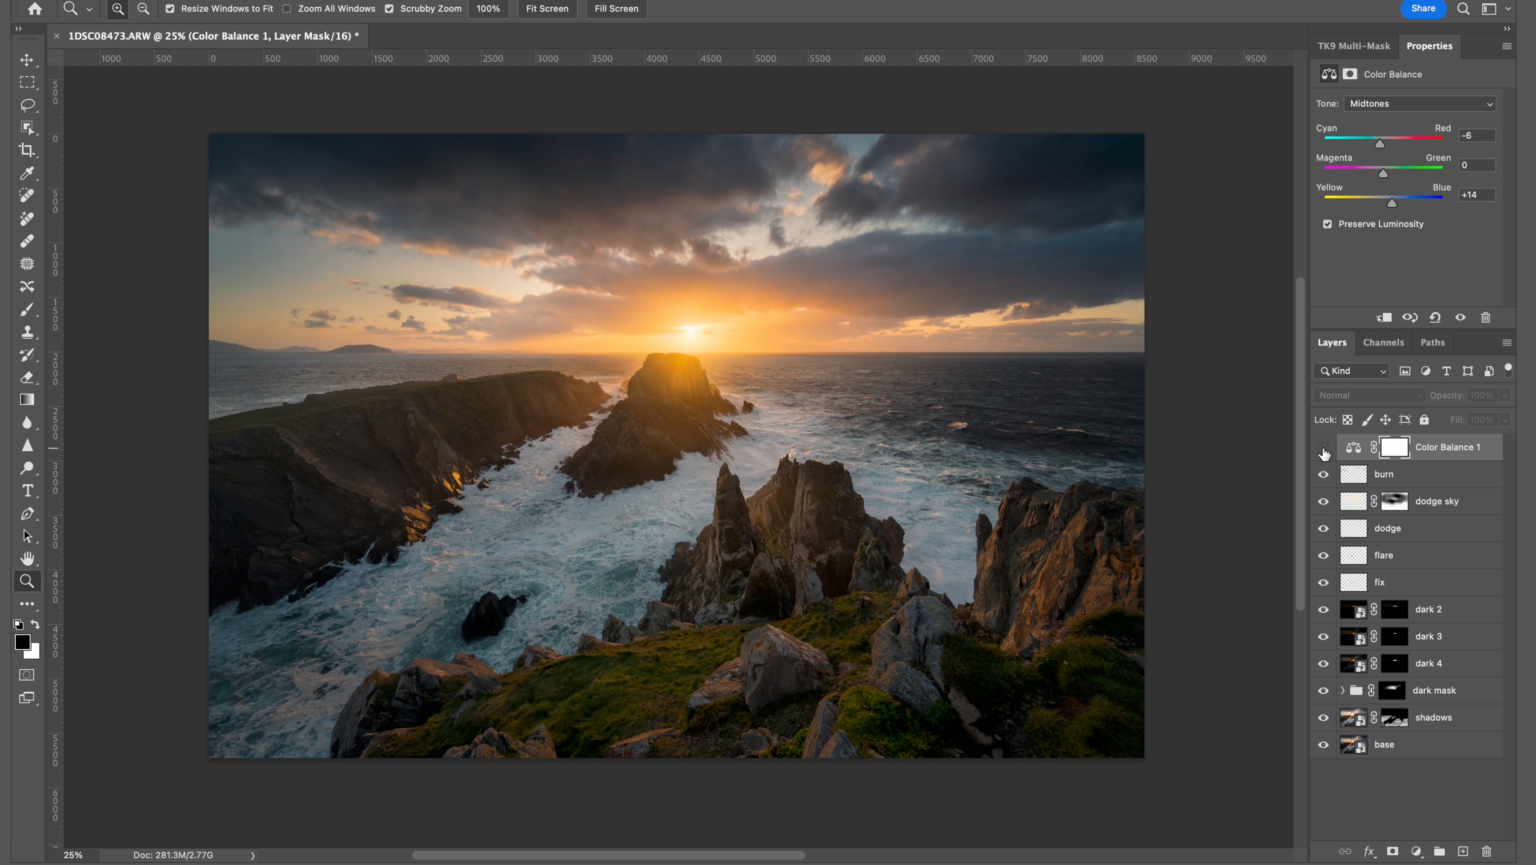
The final light and color adjustments in Photoshop.
Take these techniques into your own work.
If you’ve photographed an incredible sunset but struggled to make the RAW file look right, this tutorial tackles that challenge directly. You’ll see how I handle the bright sky, dark foreground, color, and distracting details, with techniques you can try on your own landscapes.
What you’ll need
Adobe Lightroom Classic and Photoshop. The luminosity-mask demonstration in Photoshop uses the TK panel.
Some familiarity with Lightroom and Photoshop will help you get more from the tutorial.
IRELAND CLIFFS · START TO FINISH
Get more out of Lightroom and Photoshop.
Over 90 minutes on one photograph. See how I balance the exposures, build the masks, and finish the light and color, then put those techniques to work on your own photos.
$65 USD
Add to CartPlus applicable taxes.